AWS Cloud Engineering Project — Part 3— AWS Glue, Lambda, Kinesis, Redshift, Athena, QuickSight, S3, EC2, Spark

Repository
You may see the part 2 (Data processing) below:
Overview
In this part of the whole pipeline, we are moving on to the Data Analysis part. We are going to check if the data has correctly arrived in the S3 bucket and the corresponding Glue table has been created by the Glue ETL job. If so, we will explore the data using AWS Athena first. For the Athena, we are going to use the data in the Glue table. We are going to connect AWS Athena to DBeaver and run several advanced SQL queries against the data.
Then, we will create a Redshift cluster with suitable parameters. We are going to use the data in the final S3 bucket for our Redshift cluster. Since our resulting parquet files will be uploaded as small batches, it is not possible to create the resulting tables according to their individual locations. We will, instead, create an external schema, database, and table in the end. We will also use the S3 directory to do this, not single locations.
We are going to use QuickSight to create our final dashboard. We will connect both AWS Athena and Redshift for the underlying data of the dashboard.
Monitor the Data
The first thing we have to do is to check if the data has arrived correctly. After our Glue ETL job is successfully completed, we should have our resulting parquet files under s3://aws-glue-clean-books-parquet-dogukan-ulu/clean_books_parquet/. We can see that the files have been uploaded correctly below.
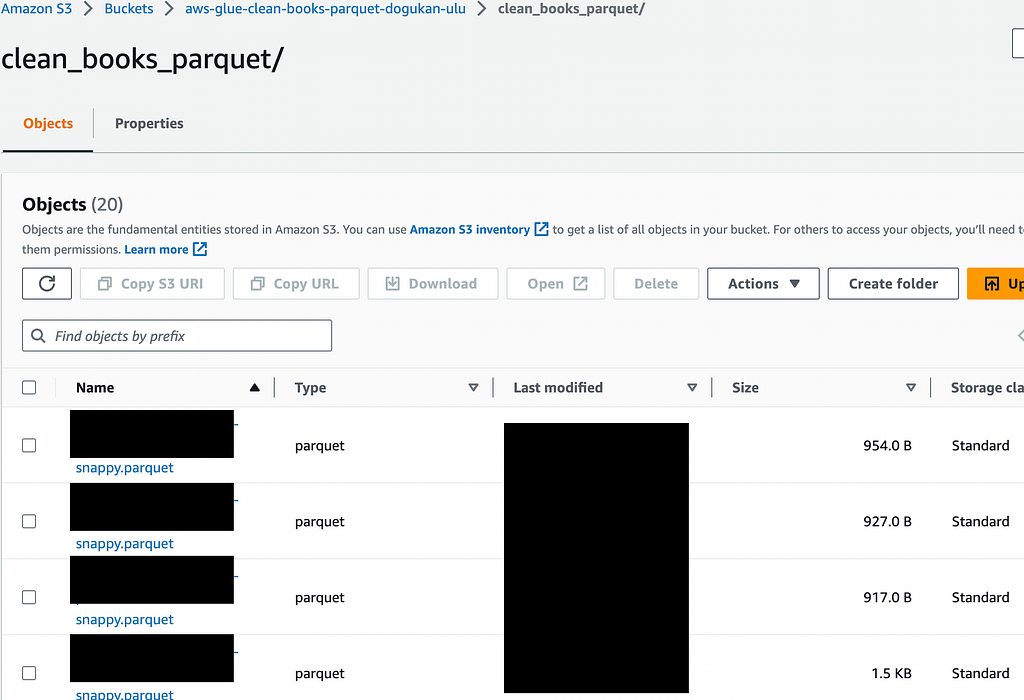
Every time we run this whole pipeline, more parquet files will be added to this bucket and directory. Since the Glue table reads the data from this exact S3 directory, the underlying data in the Glue table will also be appended in each run. The parquet files should be cleaned and should look like this clean_books_data.parquet file.
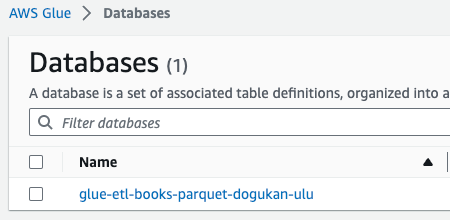
Now we should also check if the Glue table exists under the database glue-etl-books-parquet-dogukan-ulu.
We can see below that there are two Glue tables:
- dirty_books_parquet: This is the table created by the Glue crawler in the previous part. It includes the dirty books data.
- clean_books_parquet: This is the resulting table of the Glue ETL Job. It includes the resulting cleaned parquet data.
We can also see the locations of the Glue tables (S3 locations).

Since we can see that our data has arrived correctly, we can move on to the AWS Athena stage.
AWS Athena
Once we open the Athena home page on AWS, we can directly reach to the Glue tables.
We can connect to DBeaver using the Athena as the source data. It will help us run our queries however we want. You may take a look at the below article to have an insight into how to connect DBeaver to Athena.
https://medium.com/@dogukannulu/aws-athena-and-dbeaver-connection-6a4118985c6a
We can also use the Athena UI directly, but using DBeaver is another solution. Once connected, we will be able to see the Glue database and tables. We can run the following queries to better explore the data.
Find the availability ratio:
WITH numbers AS (
    SELECT
        COUNT(
            CASE
                WHEN availability = 1 THEN 1
            END
        ) AS number_of_available_books,
        COUNT(*) as total_number_of_books
    FROM `glue-etl-books-parquet-dogukan-ulu.clean_books_parquet`
)

SELECT
    number_of_available_books/total_number_of_books as availability_ratio
FROM numbers
Categorize the data by price:
WITH all_price_categories AS (
    SELECT
        title,
        CASE
            WHEN price <= 15 THEN 'Cheap'
            WHEN price <= 25 AND price < 40 THEN 'Middle'
            ELSE 'Expensive'
        END as price_category
    FROM `glue-etl-books-parquet-dogukan-ulu.clean_books_parquet`
)

SELECT
    title,
    price_category = 'Cheap' as is_cheap,
    price_category = 'Middle' as is_middle,
    price_category = 'Expensive' as is_expensive
FROM all_price_categories
Partition by number of reviews:
WITH max_price AS (
    SELECT
        title,
        price,
        num_reviews,
        ROW_NUMBER() OVER(PARTITION BY num_reviews ORDER BY price DESC) as price_row_number
    FROM `glue-etl-books-parquet-dogukan-ulu.clean_books_parquet`
)


SELECT
    title,
    price,
    num_reviews
FROM max_price
WHERE price_row_number = 1
We can see more SQL queries in the above link to explore the data.
AWS Redshift
First of all, we have to create an IAM role which will include the following policies:
- AmazonS3FullAccess
- AmazonRedshiftAllCommandsFullAccess
- AWSGlueServiceRole
After creating the IAM role, we should also create a subnet group since it will require us to use a subnet group while creating the cluster. Under Configuration -> Subnet groups, we can create a new subnet group. If we use the cluster for comparably simpler data loads, we can choose the smallest Node type and choose the number as 1 so that it won’t cost too much.

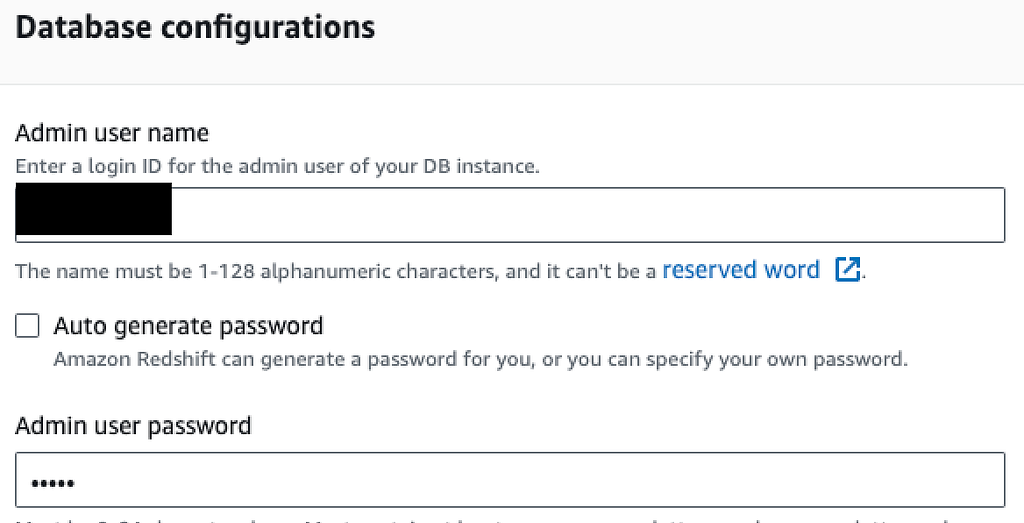
Then, we are going to define the username and password. This part is important since we will be using these while connecting to DBeaver.
After creating the username and password, we should uncheck the default settings and define the Network and security section ourselves.
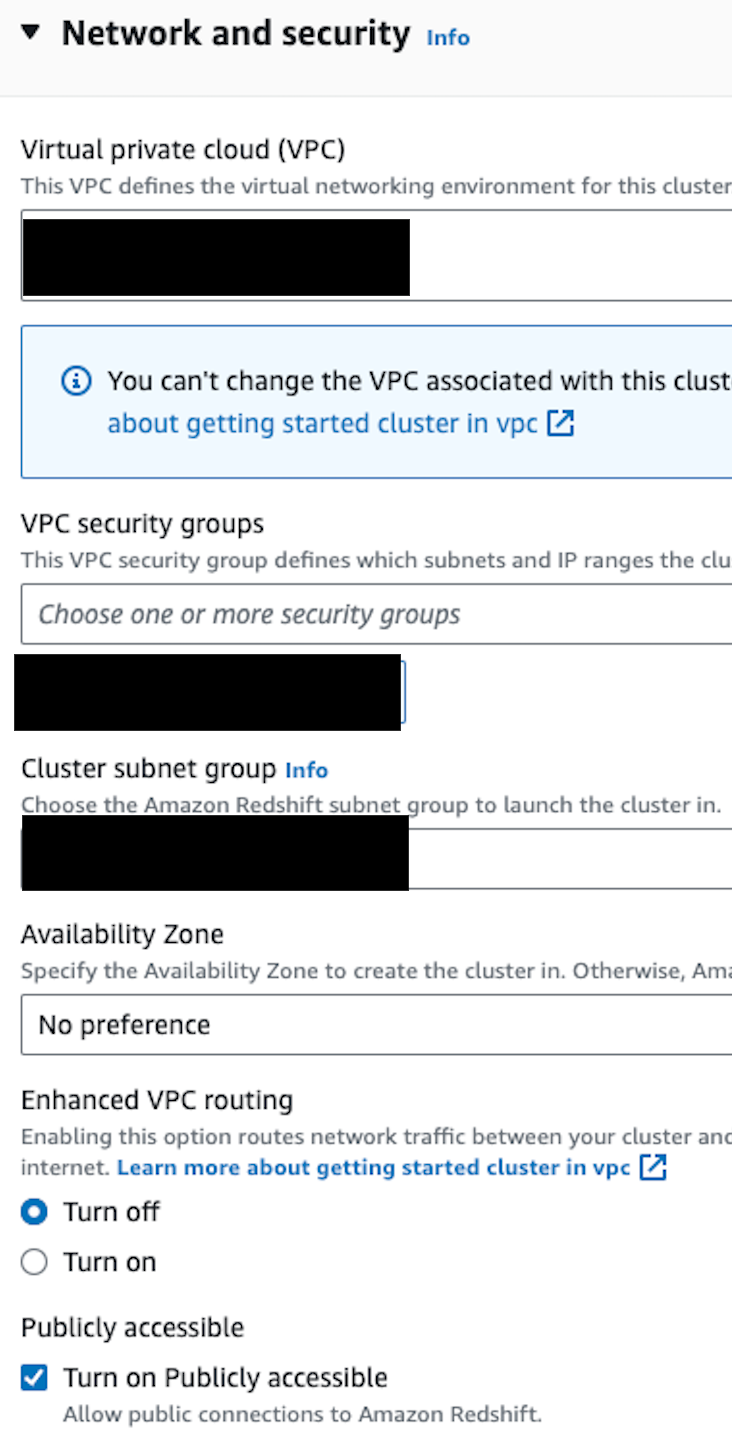
We should choose the subnet group we already created and the VPC it is located. We can also choose a suitable security group. After creating the cluster, we will add Redshift as an inbound rule to our security group.
We should definitely check the Turn on Publicly accessible button so that we will be able to access our cluster from DBeaver.
We can leave all other options as default and create our cluster. It will take around 10 minutes. After creating, we can also run our queries using the Query editor on the Redshift dashboard, but we will use DBeaver. If you want to know how we can create a DBeaver and Redshift connection, you may take a look at the below article.
https://medium.com/@dogukannulu/aws-redshift-and-dbeaver-connection-39d3f4d2016f
Once connected, we have to create an external schema, database, and table. We are going to use this table to query the data.
We are going to first create the external schema and database.
create external schema redshift_parquet
from data catalog
database 'glue-etl-books-parquet-dogukan-ulu-external'
iam_role '<iam_role_arn>'
create external database if not exists;
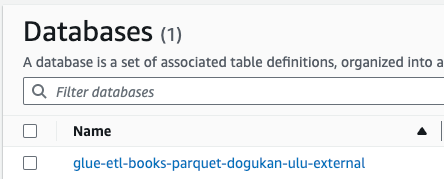
We can check if the database glue-etl-books-parquet-dogukan-ulu-external is created under the Glue databases. If so, we can run the following query to create the external table.
CREATE EXTERNAL TABLE redshift_parquet.clean_books_parquet(
    title VARCHAR(100),
    price FLOAT,
    num_reviews INTEGER,
    availability INTEGER
)
stored as parquet
location 's3://aws-glue-clean-books-parquet-dogukan-ulu/clean_books_parquet/';
You should change the location part according to your S3 location. After the run is successful, we can select the table and see the results.
SELECT * FROM dev.redshift_parquet.clean_books_parquet limit 10;
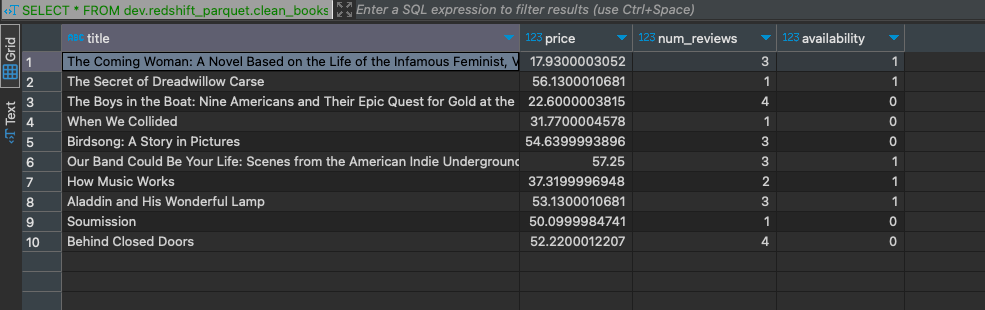
We can also run all the queries in the AWS Athena section to better explore the data.
We checked the data correctness and created an external table for our Redshift cluster. Now, it’s time to create the resulting dashboard using this data.
Amazon QuickSight
The below article explains how to create an Amazon QuickSight account, connect to Redshift and Athena, and create data sets using those. In the end, it also explains how to use the QuickSight page efficiently.
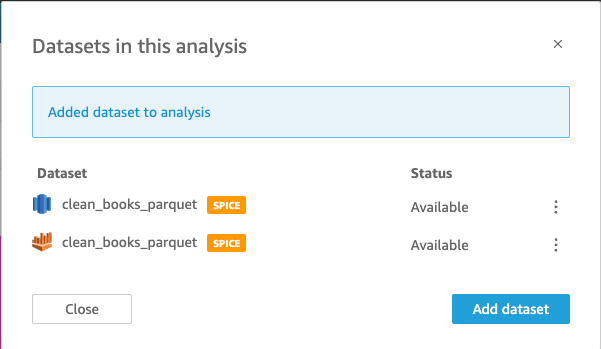
For the dashboard, we can use both Athena and Redshift (even though they include exactly the same data, we can test our knowledge at this point).
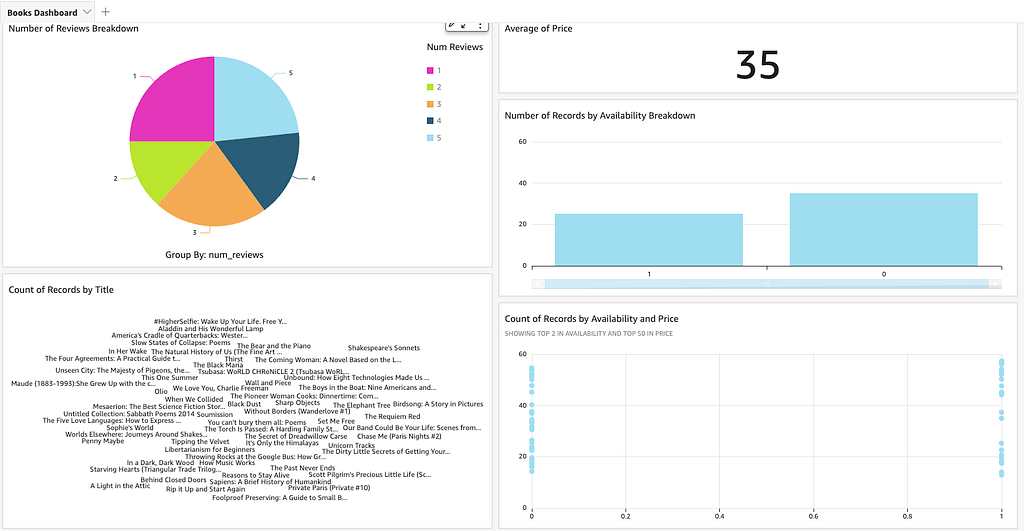
The dashboard part depends completely on the use case of the data. I created a sample dashboard as below. You can also see the resulting Books Dashboard here.
If you’re looking for freelance or consultancy work on data pipelines, AI systems, could architecture, or real-time systems, reach out to me:
Email: udogdata@gmail.com
GitHub: https://github.com/dogukannulu